I really love making tags for journalling purposes, and I really love layering embellishments and such in a 3D manner. However, this often causes conflict in a journal by making the journal difficult to close or use because of its 'bulk'. I have wracked my brains trying to find ways to solve the problem.
 |
| Box Casing: Front View |
 |
| Box Casing: Side View |
Eventually, I was inspired by something I saw - a ring binder that fits inside box casing.
So here it is... The Cherish Journal.
I guess it's a bit like a gratitude journal - a place to write down things that you are thankful for or in this case, moments you cherish.
 |
The box casing and the journal booklet
Booklet Cover: Background paper from Kaisercraft, stamps from Bo Bunny and Stampin Up. Handmade flowers and black brads. Spellbinder nesting die for background label. Tim Holtz Sewing Alteration: Mini for dressmaker dummy. |
The size of the booklet is about 11cm x 9cm and has a top binding rather than the traditional left binding.
When the booklet is opened, the embellished tag is on the top and the journal writing space is on the bottom.
Like most of my projects, the booklet is made from one foolscap kraft manilla folder. It has 8 journalling pages with 10 embellished tags. Here are photos of each tag.....
 |
Page 1 Tag
Handmade flower, brad from the Warehouse, gold lace ribbon from a past pressie, metal filigree from beading shop, spellbinder nesting die cut held with two small brads (slit pins) and stamp from Tim Holtz visual artistry collection. Background paper from Graphic 45 |
 |
Page 2 Tag
Background papers from Kaisercraft, stamp from Tim Holtz components collection, Martha Stewart heart punch with stamp. |
 |
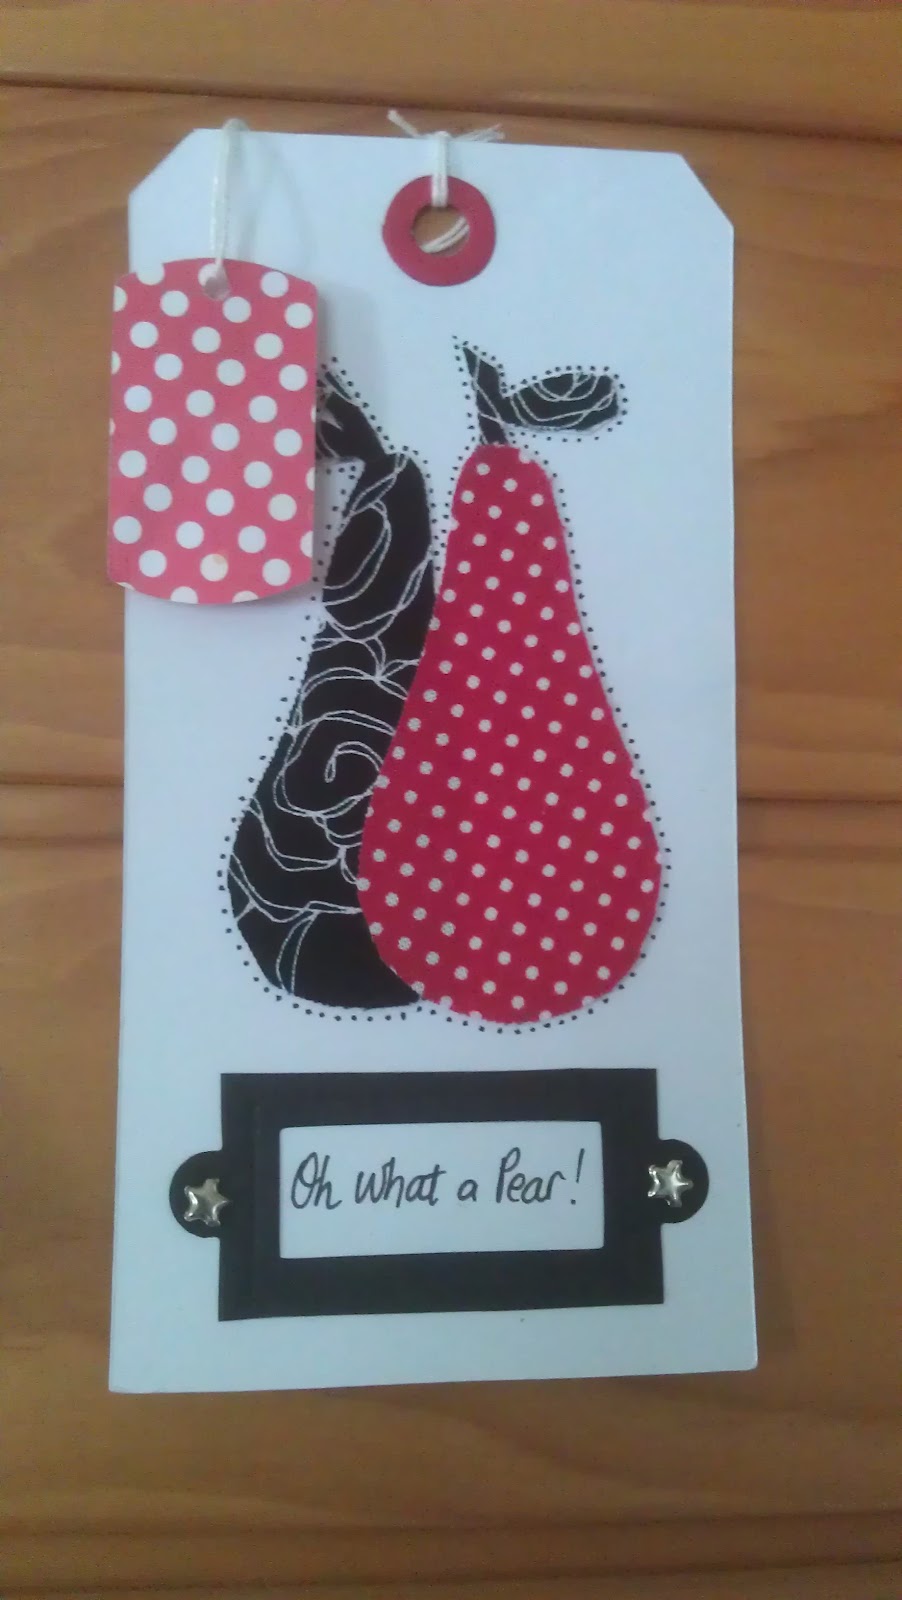
Page 3 Tag
Background paper from Graphic 45. Tim Holtz sewing die (mini) for the cotton reel and dressmaker dummy. Stamp from Papertreyink.com. Spellbinder nesting die cut for labels. Ribbon & buttons. |
 |
Page 4 Tag
Background papers from Kaisercraft, stamp from Tim Holtz components collection. Can't remember where the die came from to cut this bird out. |
 |
Page 5 Tag
Background paper from My Minds Eye, Martha Stewart butterfly punch, don't remember where the stamp came from |
 |
Page 6 Tag
Background paper from My Minds Eye. Martha Stewart butterfly punch, stamp from Tim Holtz components collection and Spellbinder nesting die cut for labels. Brass split pin. Stamp from Stampin Up. |
 |
Page 7 Tag
Branch & leaves from Tim Holtz Autumn Gatherings die, bird from Tim Holtz Caged bird die, stamp from Kaisercraft, background paper from My Minds Eye |
 |
Page 8 Tag
Handmade flower, brad from Stampin Up, metal filigree from beading shop, spellbinder nesting die for label, stamp from Tim Holtz, Martha Stewart butterfly punch, background paper from Graphic 45.
|
 |
| Full page overview |
This is what you see when you open the booklet. I used a stamp to provide some lines to write on but left as much space as possible to give the writer more freedom.
 |
| Back cover of booklet |
Next Week:
- Tutorial for making the base booklet
- Tutorial for making handmade roses
- Silhouette Cameo Preview